Learn How to create a silk pearl with this photoshop tutorial
After weeks of waiting I finally come up with a new photoshop tutorial, this time I though I might show you how to make a silk pearl in photoshop.Open a new Photoshop document, mine is 250x250 pixels. Using your Elipse Tool (press and hold the SHIFT key) draw a perfect circle. Now double click your layer in the layer pallete and apply the following styles to it: a Gradient Overlay with the Style set to Radial and a gradient that goes from #b68072 at 0% location to #e9b6a0 at 60% location to #fff1d7 at 85% location and finally to #ffffff at 100% location. Your effects should look similar to this:
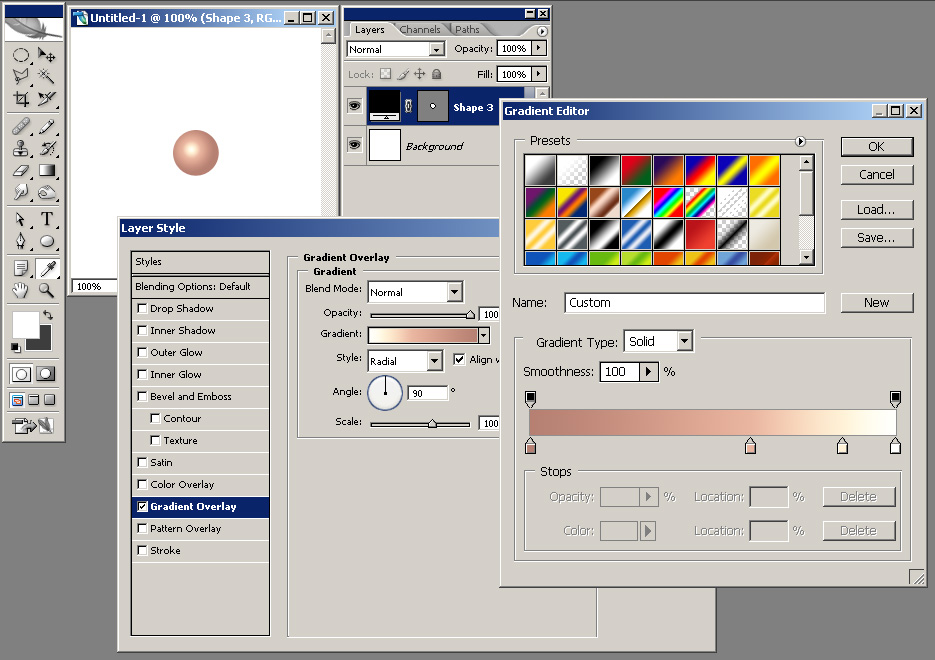 You should also apply a Bevel and Emboss style to it with the style set to Inner Bevel, Technique set to Chisel Hard, Depth 151%, Size 2 px, uncheck use global light and use 38 degrees for Angle and 32 degrees for Altitude. Set the highlight mode to overlay with 100% Opacity and #d1a971 for color and your Shadow mode also to Overlay, with 75% Opacity and #d9b890 as color.
 Now CTRL+click your shape layer in order to bring out its selection then go to Select menu and choose Modify and Contract and insert a value of 2 pixels (this should big as big enough as the size of the Bevel and Emboss style applied to the circle shape layer).
Create a new layer, select the Brush Tool with a Soft Round Brush of 20 px and using black color draw something like you see in the picture below:
 Now put your layer mode to Soft Light and Opacity to 80%.
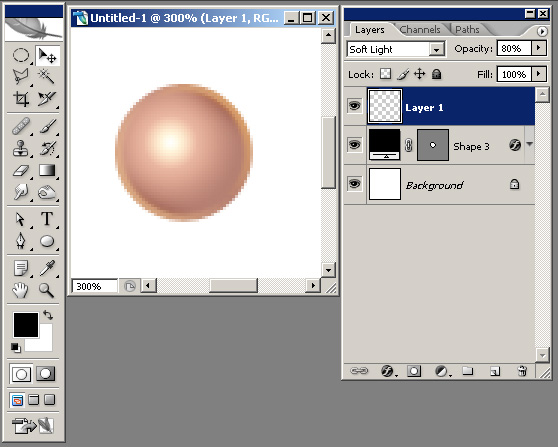 Create a new layer, select the Brush Tool with a Soft Round Brush of 20 px and using white color draw something like you see in the picture below:
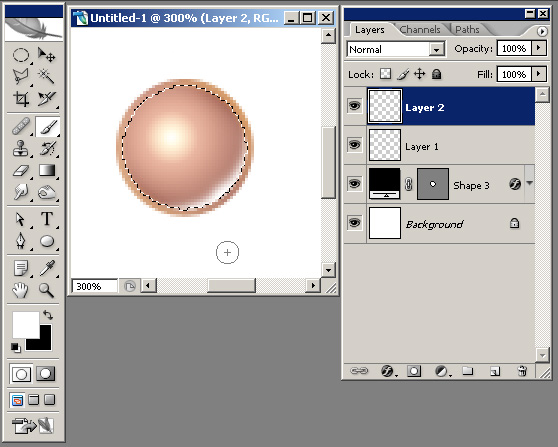 Now put your layer mode to Overlay and Opacity to 80%.
 Now create a new layer and with a Soft Round Brush of 16 px click once on the light part of your sphere and you should have something like this:
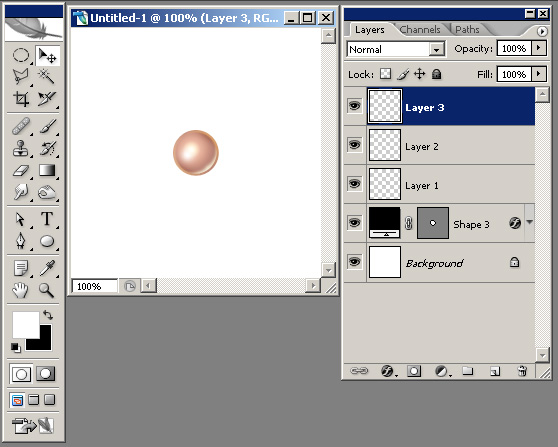 Selecet the layer's Opacity to be 60%.
 Now create a new layer and using your Polygonal Lasso Tool create a star shape and fill it with white:
 Now CTRL+click your shape layer in order to bring out its selection then go to Select menu and choose Modify then Contract and insert a value of 2 pixels (this should big as big enough as the size of the Bevel and Emboss style applied to the circle shape layer) then press CTRL+I in order to invert the selection. Create a new layer above all the layers, select the Brush Tool with a Soft Round Brush of 20 px and draw two white margins like you see in the picture below:
 If you want to take this tutorials a little further, you may try to add more light and shadow to your silk pearls; here is what I come up with:
 I will be back with many more, until then check out some of my other photoshop tutorials: