Learn how to pimp your logo with diamonds and gold with this photoshop tutorial
I saw many people like the bling bling effect applied to text, but I will show you how to do the best gold and diamonds effect that you can apply to everything you want: your logo, your avatar, anything. For this Photoshop tutorial, we will have to use a new pattern. Just download this image right here , open it in Photoshop then go to Edit > Define Pattern. Now we created a new pattern that we will use as a diamond.
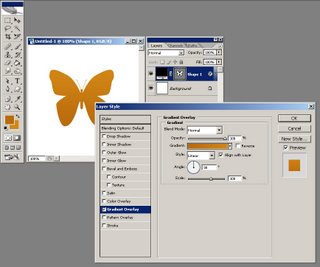
Create a new document, mine is 300x300 pixels. Set your foreground color to #bb6b0c and background color to #d28714 and draw the shape on which you want the bling bling effect to be applied. I'm using a butterfly shape from the shapes available under the Custom Shape Tool. Double click the shape layer you just created in order to see the Layer Styles and choose Gradient Overlay from the options available. Now from the Gradient picker choose the first gradient available (foreground to background), leaving the other options intact.
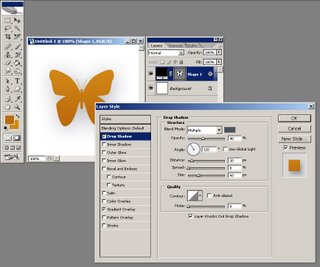
 Apply the Drop shadow Effect with the opacity set to 40%, color set to #4b545d, Distance 10px, Spread 0px and size 60px.
 Now apply a Bevel and Emboss effect with the Style set to Inner Bevel, Depth 810%, Size 8px, Soften 0px; from the shading options set the Angle to 135 degrees, Altitude to 30 degrees, Highlight mode set to Overlay, color white and 100% opacity, Shadow mode set to multiply, color black and 60% opacity, and a Gloss Contour like you see I've drawn mine in the image below.
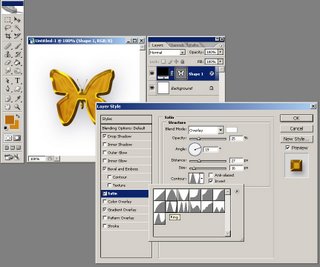
 On the same layer aplly a Satin Effect with the Blend mode set to Overlay, Color white, Opacity 25%, Angle 19 degrees, Distance 27px, Size 16px and from the contour options available select the Ring style, like you see I've done in the image below:
 Create a new layer above the shape layer. Now CTRL+click your shape layer:
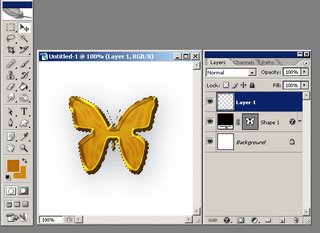 Choose Select > Modify > Contract and choose 7px then click OK. Your image should look like this:
 Now press the D key to reset your colors to default black and white and using your Paint Bucket Tool fill the layer you just created with black. Now double click the layer you just filled with black and from the options available choose the Outer Glow Effect with the Blending mode set to Overlay, Color white, Opacity 75%, Noise )%, Spread 65% and Size 3px, leaving the other options intact.
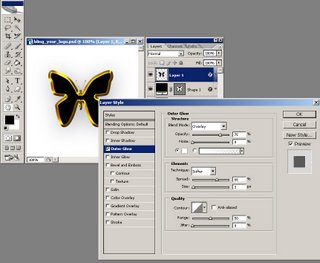 Now apply a Stroke effect with a Size of 1px, Position set to Outside, Blend mode set to Soft Light, Opacity set to 80% and Fill Type set to Color Black:
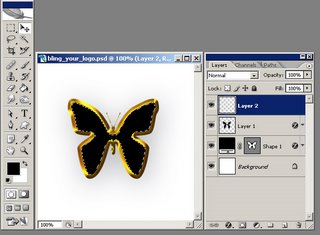
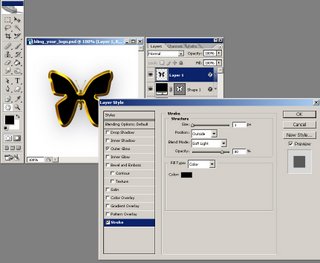 Now CTRL+click this black layer and create a new layer above it.
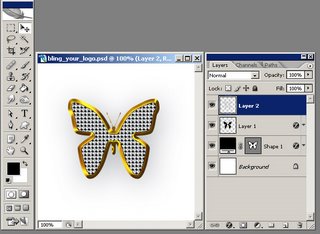
 Select the layer you just created and choose Edit > Fill and for the Use option choose Pattern and select the pattern we created at the beggining of this tutorial (it's the last one available).
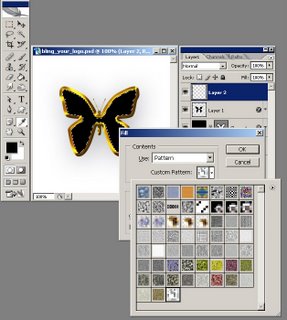 Click OK, then CTRL+D to deselect and there you have it:
 You cam play with the options above and add other effects like shining stars and lighting effects and obtain amazing bling bling effects:
 That's it, I hope you enjoyed this Photoshop tutorial.
I will be back with many more, until then check out some of my other photoshop tutorials:


