Learn how to make realistic alien-looking water with this photoshop tutorial
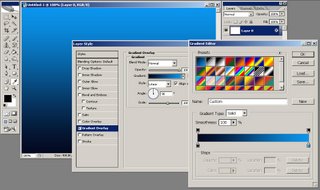
Again a Photoshop tutorial that may seem long, but it's only very detailed and very well explained. Open a new document, mine is 640x480 px. Double click the background layer in order to make it a normal layer. Set your foreground color to #050d24 and background to #0a96ee.Now double click your layer in order to bring up the Layer Style options. From the options available choose Gradient Overlay and from the Gradient picker choose Foreground to Background (it's the first one available). Make sure the darker color is on the bottom of the image and the brighter color is in the top of the image.
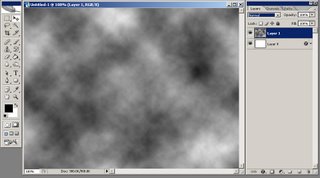
 Create a new layer above the current layer, fill it with black and then aplly a Difference Clouds filter on it (go to Filter > Render > Difference Clouds). Your image should look similar to this:
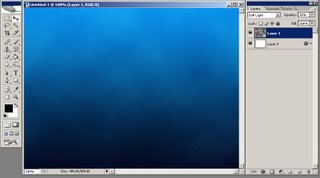
 Now set the blending mode of the layer to Soft Light and the Opacity to 35%. You should have something similar to this:
 Create a new layer above the current layer, again fill it with black and then aplly a Difference Clouds filter on it then apply a Plastic Wrap filter with default settings (from Filter > Artistic > Platic Wrap). Your image should look similar to this:
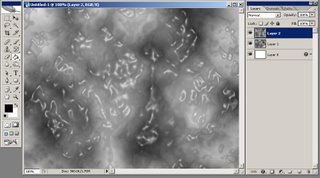 Now aplly the Free Transform command (Edit > Free Transform or CTRL+T) and transform your layer until you have something like in the image below (note: while you free transform your layer you can hold ALT, CTRL or ALT+CTRL+SHIFT for different options):
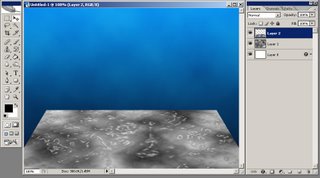 Make a selection similar to what I have in the image below (the selection should cover the margins of the layer) and then go to Select > Feather (or ALT+CTRL+D on your keyboard) and enter a Radius of 40 px:
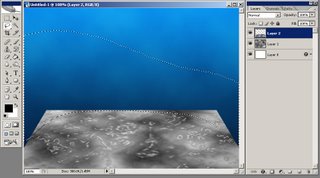 Press delete a few times and if necessary use the Eraser Tool with a Airbrush Soft Round brush of 200-300 px in order to obtain smoother margins. You should have something similar to this:
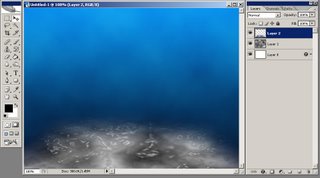 Set the blending mode of the layer to Color Dodge and your image should look like this:
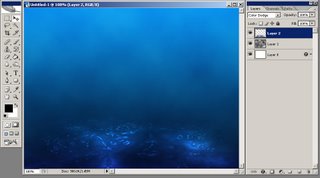 Now duplicate the top layer (go to Layer > Duplicate Layer or in the Layers Palette drag the top Layer over the Create New Layer icon) then go to Edit > Free Transform and with your Transform Controls active right click anywhere on the image and choose Flip Vertical then hit the Enter key. Move this new created layer on the top of your document and set it's blending mode to Soft Light. You should have something similar to this:
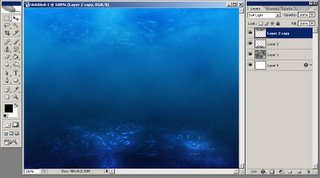 Using the Polygonal Lasso Tool make a selection like you see I've done in the image below:
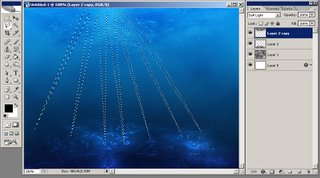 Go to Select > Feather (or ALT+CTRL+D on your keyboard) select a radius of 10 px, create a new layer above all layers and fill this selection with white:
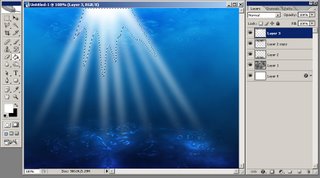 Set the layer's blending mode to Soft Light and the Opacity to 30% and your image should look like this:
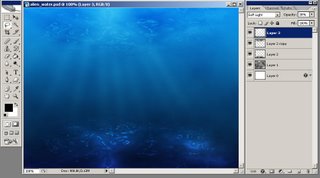 Using your Lasso Tool make a selection like you see I've done in the image below, go to Select > Feather and insert a Radius of 25px and then press delete a few times:
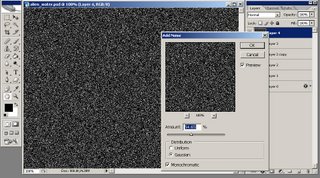
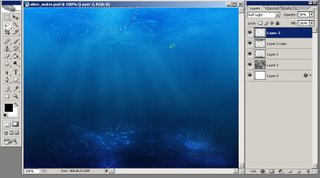 Create a new layer above all the layers in your document, fill it with black then go to Filter > Noise > Add Noise and set the Amount to 50-55%, Distribution to Gaussian and check Monochromatic:
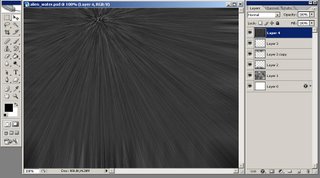
 Now go to Filter > Blur > Radiul Blur and set the Amount to 100, Blue method to Zoom, Quality to Best and Blur Center to somewhere in the upper-left of your image. You should have something similar to this:
 Set the layer's blending mode to Soft Light and the Opacity to 35%. Make a selection like you see I've done in the image below:
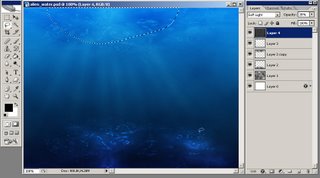 Go to Select > Feather (or ALT+CTRL+D on your keyboard) select a radius of 35 px and press delete a few times and there you have it:
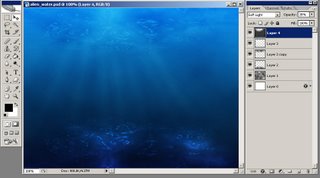 Of course, you can continue and add details to your image, I've added an alien ship, some rocks, fishes and air bubbles, but you can just use your imagination. That's it for now, I hope you enjoyed this new Photoshop tutorial. Stay tuned because soon I will show you how to do the image below:
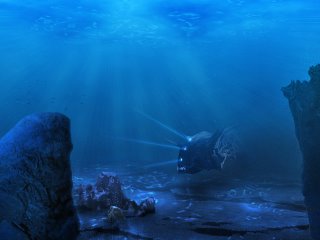 If you want to see how the rocks in this image were made, please click here.
I will be back with many more, until then check out some of my other photoshop tutorials:


