Thursday, September 21, 2006

Create realistic rocks and blend them into your scene

Learn how to create realistic rocks and then how to blend them into an underwater scene with this photoshop tutorial.

Hello and welcome to another photoshop tutorial. Many of my visitors asked me for a photoshop tutorial showing how I did the rocks in the realistic alien water scene were made.Learn how to make realistic rocks with this photoshop tutorialHere goes...

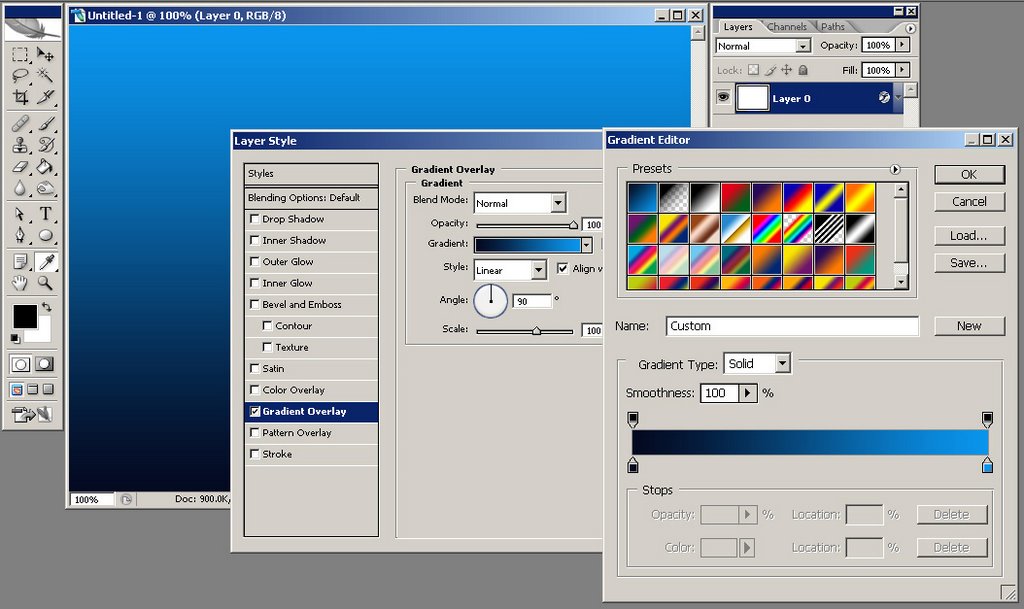
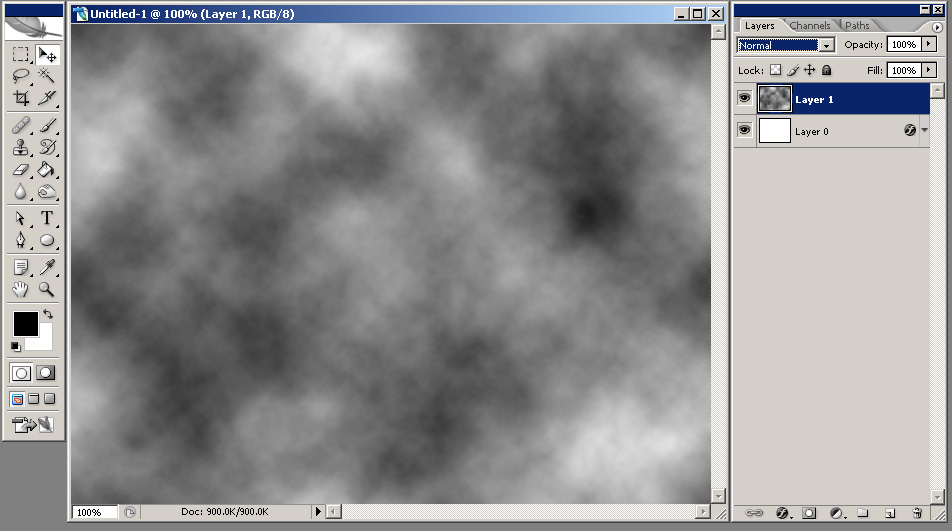
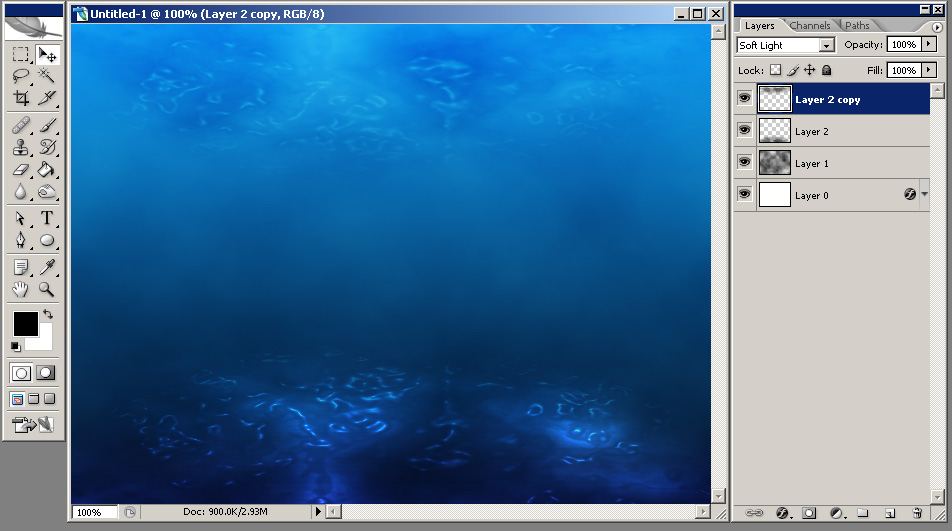
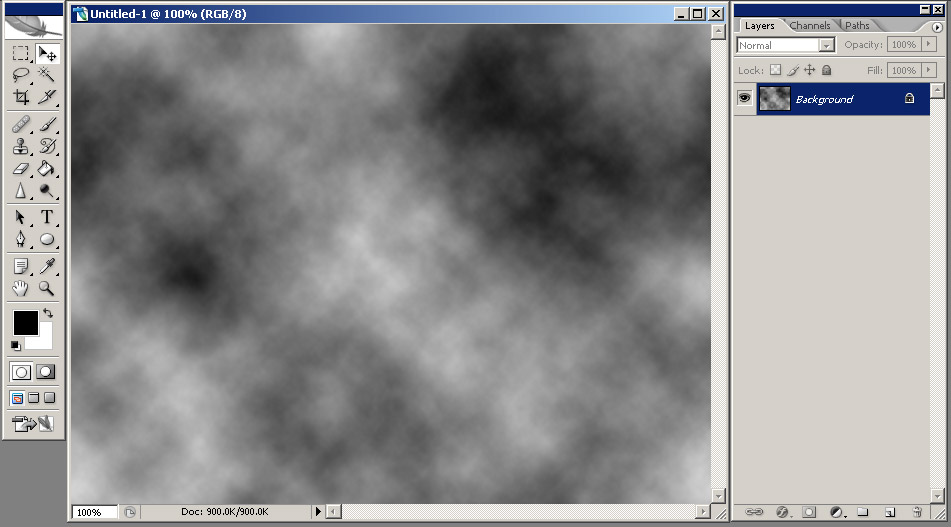
Open a new document, mine is 640x480 px then go to the Filter menu and choose Render > Difference Clouds.Learn how to make realistic rocks with this photoshop tutorial
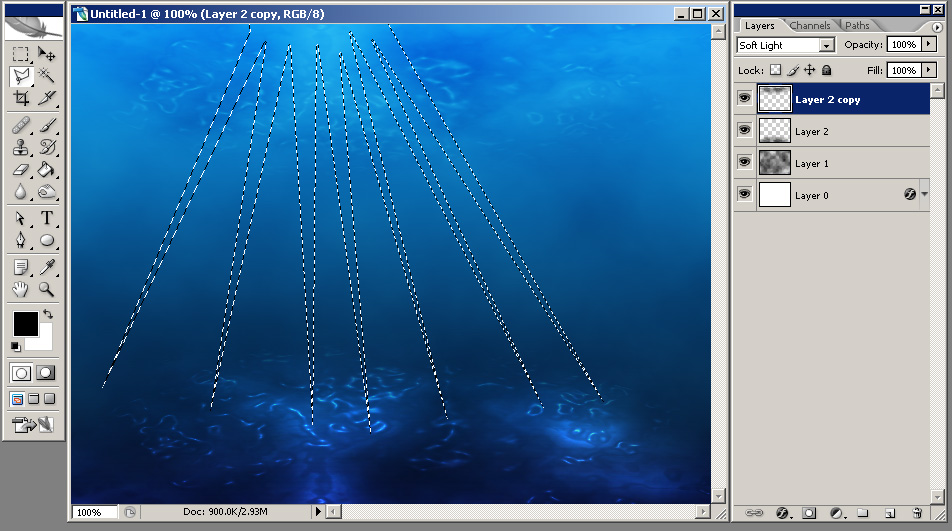
Now go to Filter > Render > Lighting Effects and select your light (spotlight) to come from top-left corner of your image, leaving all the other settings intact, like you see in my image below:Learn how to make realistic rocks with this photoshop tutorial
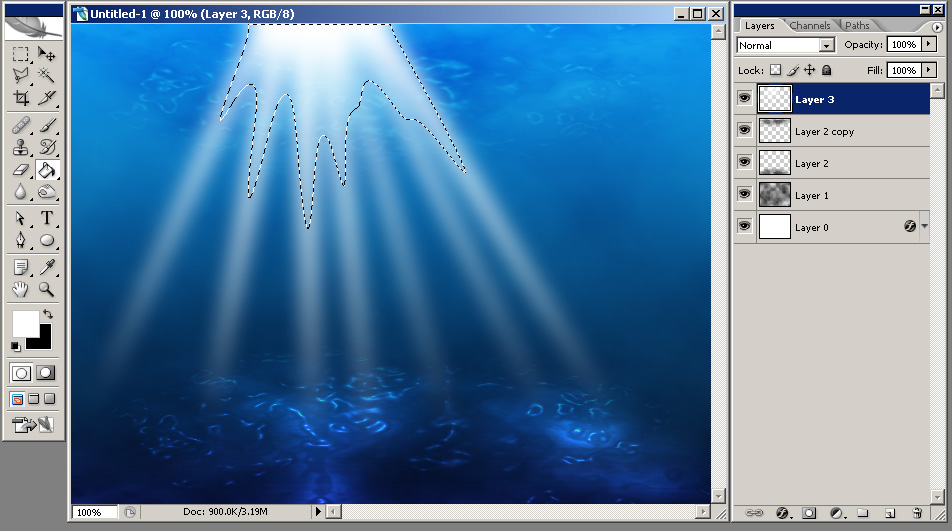
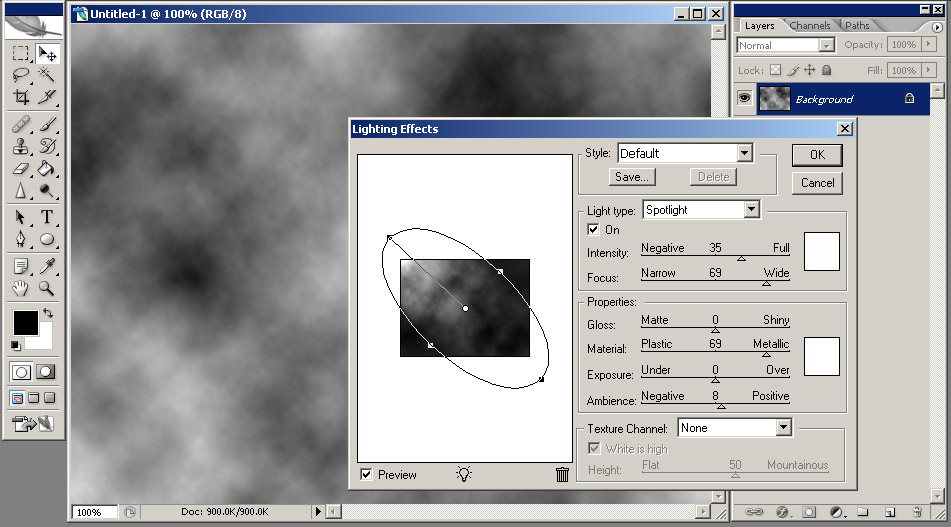
Your result should be similar to this:Learn how to make realistic rocks with this photoshop tutorial
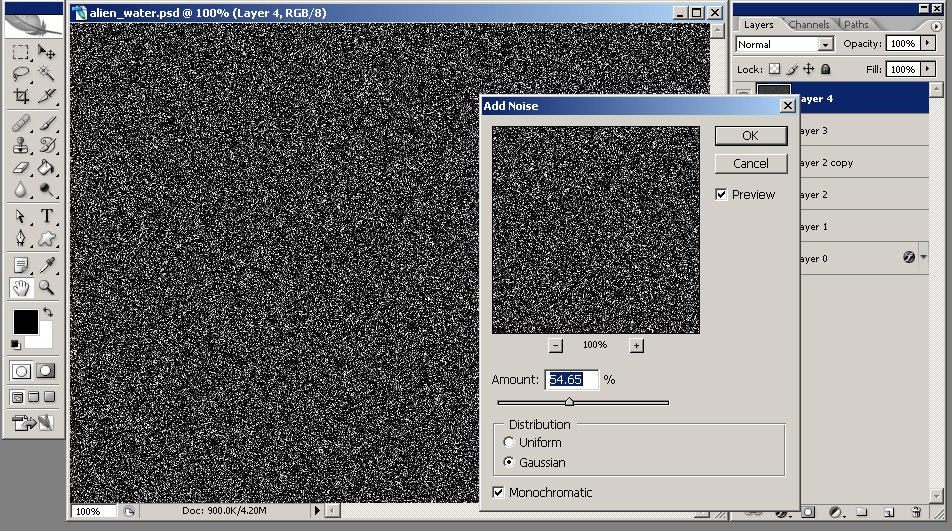
Then go to Filter > Noise > Add Noise and set the Amount to 0.6%, Distribution to Gaussian and check Monochromatic.Learn how to make realistic rocks with this photoshop tutorial
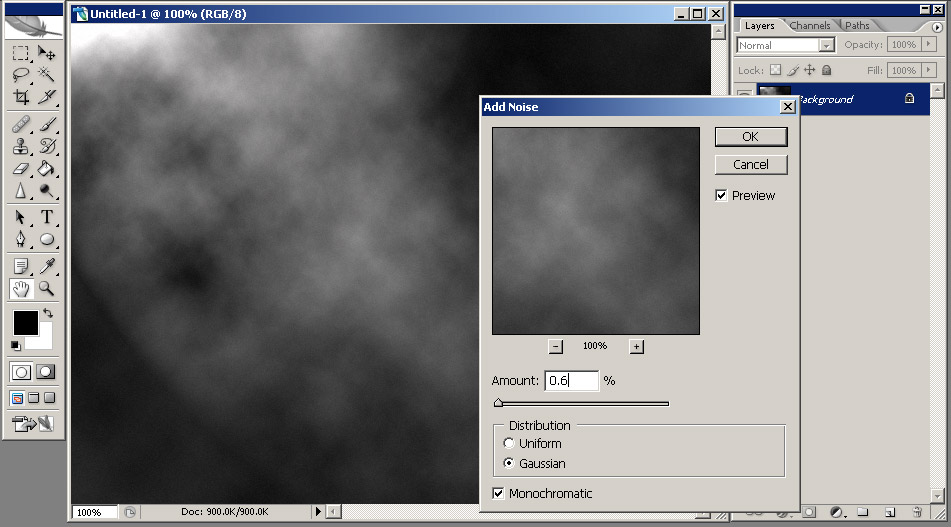
Apply a Bas relief filter (from Filter > Sketch > Bas Relief) with the following values: Detail: 15, Smoothness: 2, Light: Top.Learn how to make realistic rocks with this photoshop tutorial
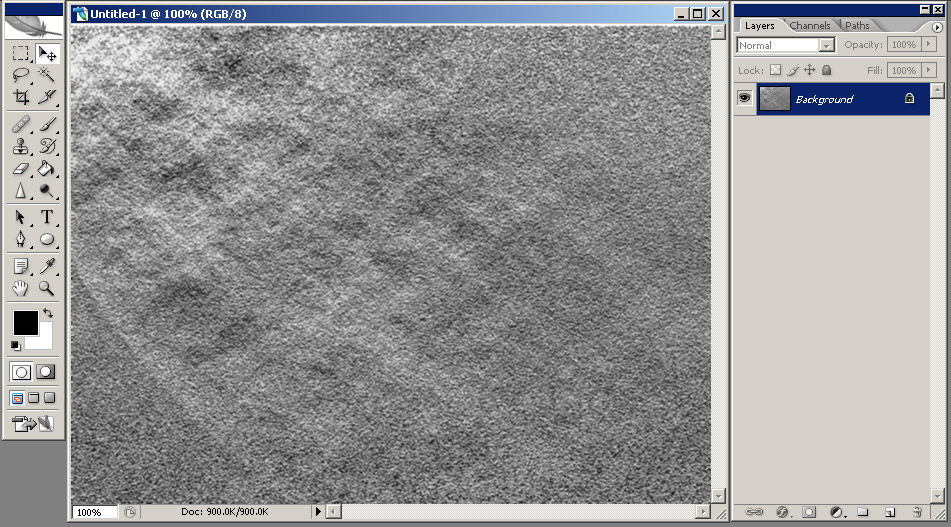
Now duplicate your background layer (go to Layer > Duplicate Layer...) and then aplly a Craquelure filter (Filter > Texture > Craquelure) with the following values: Crack Spacing:80, Crack Depth:4, Crack Brightness:5.Learn how to make realistic rocks with this photoshop tutorialUsing the Lasso Tool make a selection like you want your rock to look like. Flatten your image (go to Layer > Flatten Image) and copy from the new layer created.
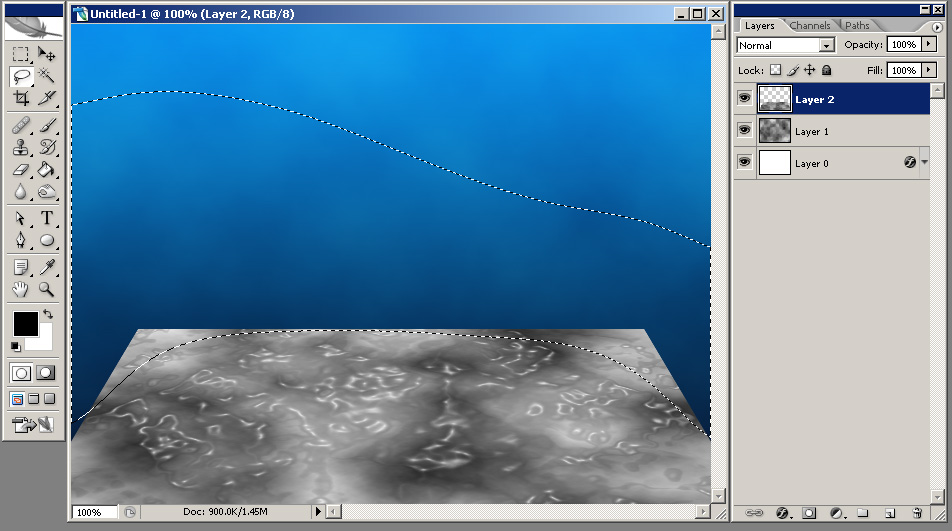
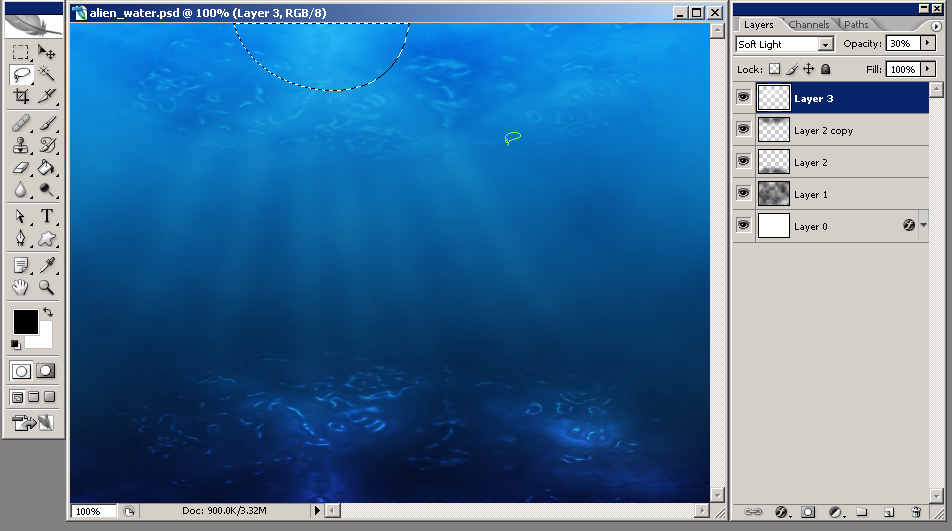
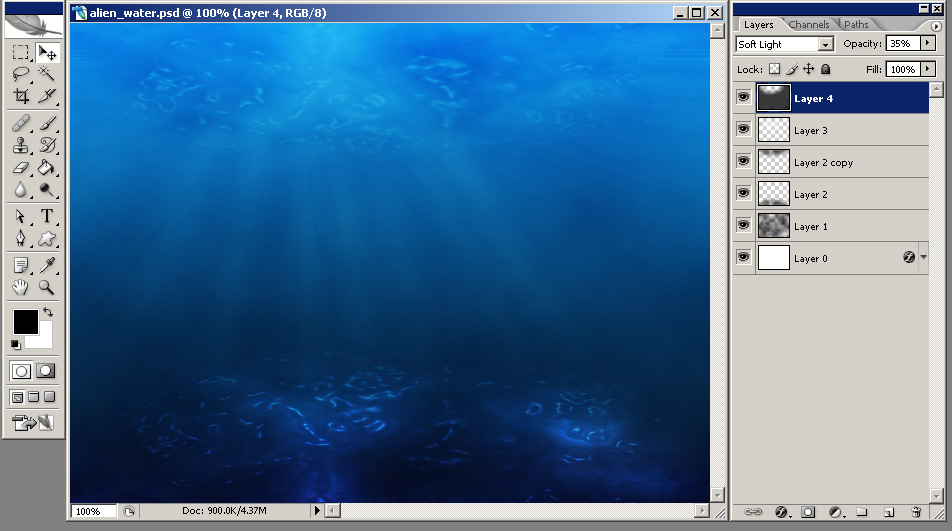
Open the image you want to blend your rock into. Paste the rock into a new layerLearn how to make realistic rocks with this photoshop tutorial then press CTRL+U in order to modify the Hue/Saturation: check Colorize then use the following values Hue:220, Saturation:45, Lightness:-20.Learn how to make realistic rocks with this photoshop tutorial
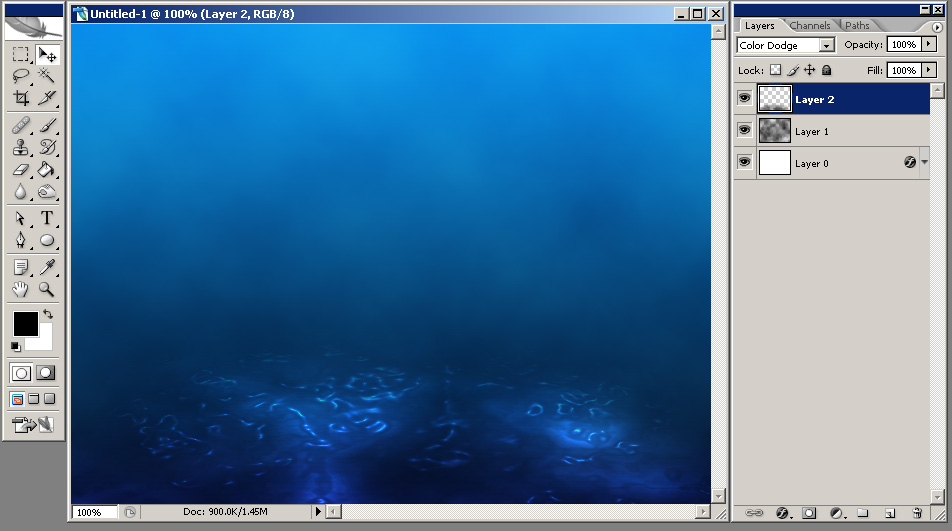
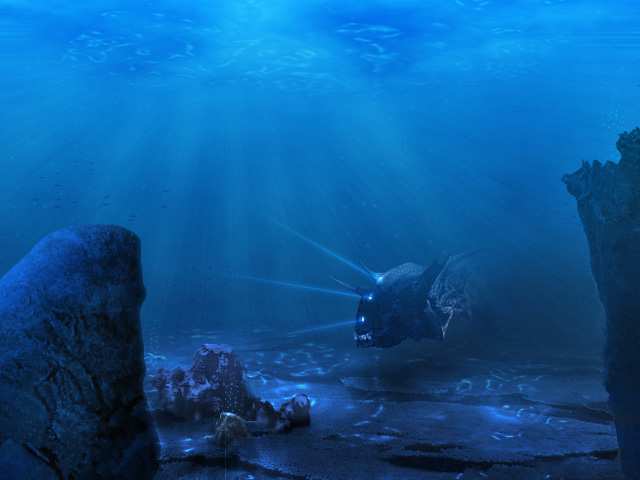
Now you must darken some parts of your rock and lighten others. I darkened the right part of my rock using the Burn Tool and lightened the upper part using the Dodge Tool (on the next image you have blue arrows to show you where I've used the Burn Tool and a White arrow to show you where I've used the Dodge Tool).Learn how to make realistic rocks with this photoshop tutorial
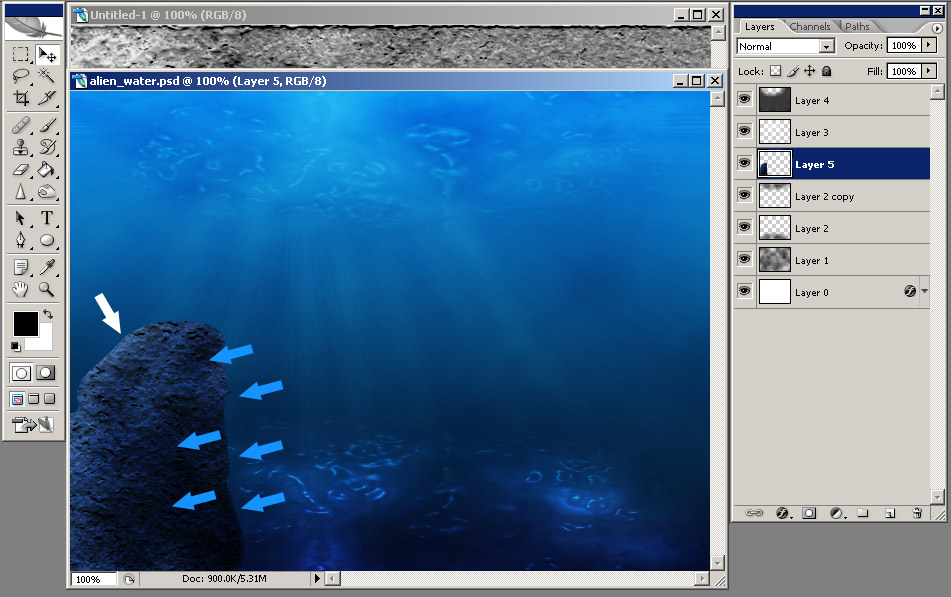
Using the Burn Tool with a small brush selected make more cracks into our rock.Learn how to make realistic rocks with this photoshop tutorial
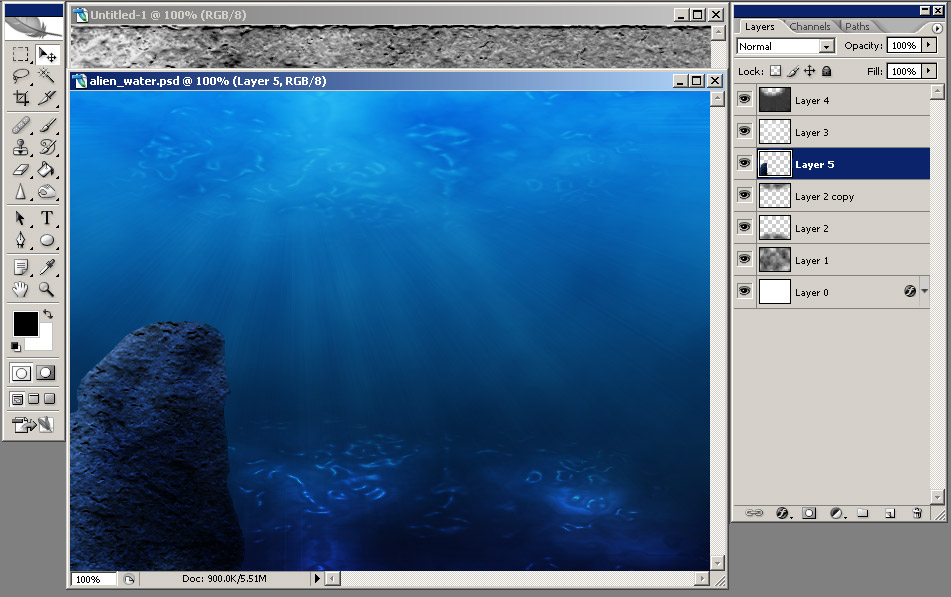
Hope you liked this photoshop tutorial. Thank you!
I will be back with many more, until then check out some of my other photoshop tutorials:

Monday, September 11, 2006

Alien Water

Learn how to make realistic alien-looking water with this photoshop tutorial

Again a Photoshop tutorial that may seem long, but it's only very detailed and very well explained. Open a new document, mine is 640x480 px. Double click the background layer in order to make it a normal layer. Set your foreground color to #050d24 and background to #0a96ee.

Now double click your layer in order to bring up the Layer Style options. From the options available choose Gradient Overlay and from the Gradient picker choose Foreground to Background (it's the first one available). Make sure the darker color is on the bottom of the image and the brighter color is in the top of the image.learn how to create realistic water in photoshop with this tutorialCreate a new layer above the current layer, fill it with black and then aplly a Difference Clouds filter on it (go to Filter > Render > Difference Clouds). Your image should look similar to this:learn how to create realistic water in photoshop with this tutorialNow set the blending mode of the layer to Soft Light and the Opacity to 35%. You should have something similar to this:learn how to create realistic water in photoshop with this tutorialCreate a new layer above the current layer, again fill it with black and then aplly a Difference Clouds filter on it then apply a Plastic Wrap filter with default settings (from Filter > Artistic > Platic Wrap). Your image should look similar to this:learn how to create realistic water in photoshop with this tutorialNow aplly the Free Transform command (Edit > Free Transform or CTRL+T) and transform your layer until you have something like in the image below (note: while you free transform your layer you can hold ALT, CTRL or ALT+CTRL+SHIFT for different options):learn how to create realistic water in photoshop with this tutorialMake a selection similar to what I have in the image below (the selection should cover the margins of the layer) and then go to Select > Feather (or ALT+CTRL+D on your keyboard) and enter a Radius of 40 px:learn how to create realistic water in photoshop with this tutorialPress delete a few times and if necessary use the Eraser Tool with a Airbrush Soft Round brush of 200-300 px in order to obtain smoother margins. You should have something similar to this:learn how to create realistic water in photoshop with this tutorialSet the blending mode of the layer to Color Dodge and your image should look like this:learn how to create realistic water in photoshop with this tutorialNow duplicate the top layer (go to Layer > Duplicate Layer or in the Layers Palette drag the top Layer over the Create New Layer icon) then go to Edit > Free Transform and with your Transform Controls active right click anywhere on the image and choose Flip Vertical then hit the Enter key. Move this new created layer on the top of your document and set it's blending mode to Soft Light. You should have something similar to this:learn how to create realistic water in photoshop with this tutorialUsing the Polygonal Lasso Tool make a selection like you see I've done in the image below:learn how to create realistic water in photoshop with this tutorialGo to Select > Feather (or ALT+CTRL+D on your keyboard) select a radius of 10 px, create a new layer above all layers and fill this selection with white:learn how to create realistic water in photoshop with this tutorialSet the layer's blending mode to Soft Light and the Opacity to 30% and your image should look like this:learn how to create realistic water in photoshop with this tutorialUsing your Lasso Tool make a selection like you see I've done in the image below, go to Select > Feather and insert a Radius of 25px and then press delete a few times:learn how to create realistic water in photoshop with this tutorialCreate a new layer above all the layers in your document, fill it with black then go to Filter > Noise > Add Noise and set the Amount to 50-55%, Distribution to Gaussian and check Monochromatic:learn how to create realistic water in photoshop with this tutorialNow go to Filter > Blur > Radiul Blur and set the Amount to 100, Blue method to Zoom, Quality to Best and Blur Center to somewhere in the upper-left of your image. You should have something similar to this:learn how to create realistic water in photoshop with this tutorialSet the layer's blending mode to Soft Light and the Opacity to 35%. Make a selection like you see I've done in the image below:learn how to create realistic water in photoshop with this tutorialGo to Select > Feather (or ALT+CTRL+D on your keyboard) select a radius of 35 px and press delete a few times and there you have it:learn how to create realistic water in photoshop with this tutorialOf course, you can continue and add details to your image, I've added an alien ship, some rocks, fishes and air bubbles, but you can just use your imagination. That's it for now, I hope you enjoyed this new Photoshop tutorial. Stay tuned because soon I will show you how to do the image below:learn how to create realistic water in photoshop with this tutorialIf you want to see how the rocks in this image were made, please click here.

I will be back with many more, until then check out some of my other photoshop tutorials:

Thursday, September 07, 2006

bling bling your logo

Learn how to pimp your logo with diamonds and gold with this photoshop tutorial

I saw many people like the bling bling effect applied to text, but I will show you how to do the best gold and diamonds effect that you can apply to everything you want: your logo, your avatar, anything. For this Photoshop tutorial, we will have to use a new pattern. Just download this image right herelearn how to create very cool diamonds and gold effect using this photoshop tutorial, open it in Photoshop then go to Edit > Define Pattern. Now we created a new pattern that we will use as a diamond.

Create a new document, mine is 300x300 pixels. Set your foreground color to #bb6b0c and background color to #d28714 and draw the shape on which you want the bling bling effect to be applied. I'm using a butterfly shape from the shapes available under the Custom Shape Tool. Double click the shape layer you just created in order to see the Layer Styles and choose Gradient Overlay from the options available. Now from the Gradient picker choose the first gradient available (foreground to background), leaving the other options intact.learn how to create very cool diamonds and gold effect using this photoshop tutorialApply the Drop shadow Effect with the opacity set to 40%, color set to #4b545d, Distance 10px, Spread 0px and size 60px.learn how to create very cool diamonds and gold effect using this photoshop tutorialNow apply a Bevel and Emboss effect with the Style set to Inner Bevel, Depth 810%, Size 8px, Soften 0px; from the shading options set the Angle to 135 degrees, Altitude to 30 degrees, Highlight mode set to Overlay, color white and 100% opacity, Shadow mode set to multiply, color black and 60% opacity, and a Gloss Contour like you see I've drawn mine in the image below.learn how to create very cool diamonds and gold effect using this photoshop tutorialOn the same layer aplly a Satin Effect with the Blend mode set to Overlay, Color white, Opacity 25%, Angle 19 degrees, Distance 27px, Size 16px and from the contour options available select the Ring style, like you see I've done in the image below:learn how to create very cool diamonds and gold effect using this photoshop tutorialCreate a new layer above the shape layer. Now CTRL+click your shape layer:learn how to create very cool diamonds and gold effect using this photoshop tutorialChoose Select > Modify > Contract and choose 7px then click OK. Your image should look like this:learn how to create very cool diamonds and gold effect using this photoshop tutorialNow press the D key to reset your colors to default black and white and using your Paint Bucket Tool fill the layer you just created with black. Now double click the layer you just filled with black and from the options available choose the Outer Glow Effect with the Blending mode set to Overlay, Color white, Opacity 75%, Noise )%, Spread 65% and Size 3px, leaving the other options intact.learn how to create very cool diamonds and gold effect using this photoshop tutorialNow apply a Stroke effect with a Size of 1px, Position set to Outside, Blend mode set to Soft Light, Opacity set to 80% and Fill Type set to Color Black:learn how to create very cool diamonds and gold effect using this photoshop tutorialNow CTRL+click this black layer and create a new layer above it.learn how to create very cool diamonds and gold effect using this photoshop tutorialSelect the layer you just created and choose Edit > Fill and for the Use option choose Pattern and select the pattern we created at the beggining of this tutorial (it's the last one available).learn how to create very cool diamonds and gold effect using this photoshop tutorial Click OK, then CTRL+D to deselect and there you have it:learn how to create very cool diamonds and gold effect using this photoshop tutoriallearn how to create very cool diamonds and gold effect using this photoshop tutorialYou cam play with the options above and add other effects like shining stars and lighting effects and obtain amazing bling bling effects:learn how to create very cool diamonds and gold effect using this photoshop tutorialThat's it, I hope you enjoyed this Photoshop tutorial.
I will be back with many more, until then check out some of my other photoshop tutorials: